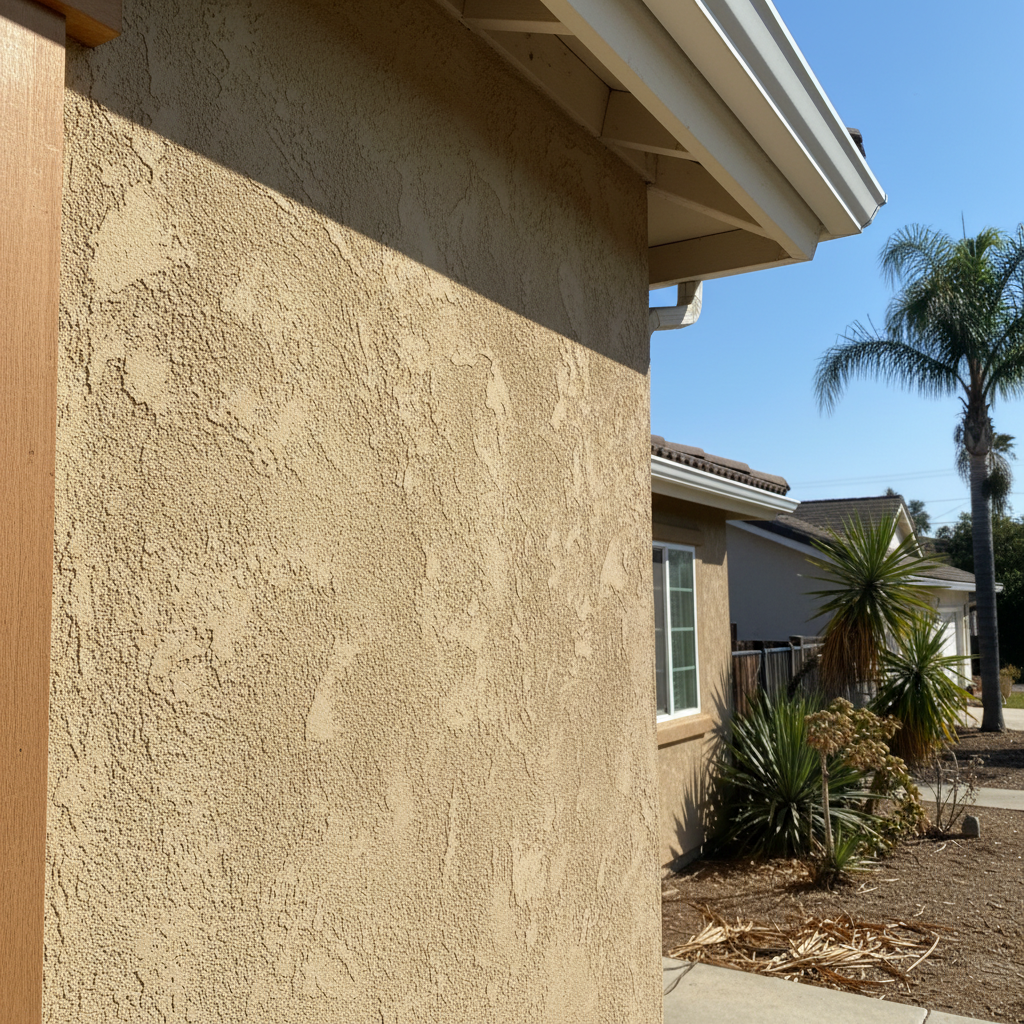
Stucco Replacement: Can You Really DIY It?
So, your stucco is looking rough. Cracks, crumbling, maybe some water stains showing up around the windows. You're probably wondering if this is a job you can tackle yourself to save a few bucks. Let's be straight: stucco replacement isn't like painting a wall. It's a big, messy job, and getting it wrong can lead to serious problems down the road, especially with our rainy winters here in Sunnyvale.
I've seen plenty of homeowners try to patch things up, and sometimes a small repair is totally doable. But full replacement? That's a different beast. Here's my take on what you need to know before, during, and after the project, and where the line is between DIY and calling in a professional like us at Sunnyvale Stucco & Plastering.
Before You Start: Assessing the Damage
First things first, figure out what you're dealing with. Is it just a few hairline cracks, or are there big sections of stucco delaminating from the wall? Push on the stucco – does it feel soft or spongy? That's a big red flag for water intrusion and potential dry rot in the sheathing underneath. If you see dark streaks or mold, especially near windows or the foundation, you’ve definitely got moisture issues that need to be addressed.
For small, surface-level cracks that aren't letting water in, you might be able to patch them yourself. There are plenty of good stucco patch compounds available. Just make sure you clean the area thoroughly, apply the patch, and then match the texture and paint. It's a cosmetic fix, not a structural one.
But if the damage goes deeper – if you've got large sections falling off, widespread cracking, or any sign of water getting behind the stucco – then you're looking at a full replacement or at least a major re-stucco job. This means tearing off the old stuff, inspecting the sheathing and framing, installing new waterproofing, lath, and then applying multiple coats of new stucco. This isn't a weekend project, even for an experienced DIYer.
The DIY Line: When to Step Back
I'm all for homeowners getting their hands dirty, but there's a point where you need to call in the experts. Here's where I draw that line:
- Extensive Water Damage: If you suspect water has gotten behind the stucco and damaged the wood sheathing or framing, you need a pro. Repairing this involves structural work, proper waterproofing, and ensuring everything dries out completely to prevent mold.
- Large Areas of Stucco Failure: If more than, say, 10-15% of a wall section needs replacing, the complexity ramps up fast. Matching textures, ensuring proper adhesion, and getting a consistent finish over a large area is tough.
- Multiple Layers of Stucco: Some older homes in Sunnyvale, especially those built in the 50s and 60s, might have multiple layers of stucco or even stucco over other materials. Removing this can be a huge undertaking and often requires specialized tools.
- Lack of Proper Tools/Knowledge: Do you have a scaffold? A mixer? A hawk and trowel? Do you know how to properly flash around windows and doors to prevent future leaks? If not, the cost of renting or buying these tools, plus the learning curve, might outweigh the savings.
Honestly, the biggest risk with DIY stucco replacement is not just a bad-looking finish, but creating new pathways for water to enter your home. And in a place like Sunnyvale, where we get those heavy winter rains, a leaky wall can quickly turn into a nightmare of rot, mold, and expensive interior damage.
During the Project (If You Hire a Pro)
If you decide to go with a professional, here's what you should expect. A good contractor will start by protecting your property – plants, driveways, windows. They'll carefully remove the old stucco, down to the sheathing. This is crucial because it allows them to inspect for any hidden damage. If they find rotten wood, they should show it to you and discuss the repair options before proceeding.
Next comes the waterproofing. This usually involves a weather-resistive barrier (WRB) like building paper or a synthetic wrap, and proper flashing around all openings. This is your home's main defense against water. Then, they'll install metal lath, which gives the stucco something to grab onto. Finally, they'll apply the scratch coat, brown coat, and finish coat. Each coat needs proper curing time, so don't expect it to be a super-fast process. A good stucco job takes time and patience.
After the Project: Maintenance and Longevity
Once the new stucco is on and cured, it's pretty low maintenance. The main thing is to keep an eye on it. Walk around your house once or twice a year, especially after heavy rains. Look for new cracks, especially around windows, doors, and where different materials meet. If you see small cracks, you can usually caulk them with an elastomeric sealant designed for stucco.
Keep your gutters clean and make sure downspouts direct water away from your foundation. Trim back any plants or trees that are directly touching the stucco, as they can hold moisture against the wall. A well-installed and properly maintained stucco system can last for decades, protecting your home and looking great. If you have any questions or need a hand, you know who to call.